Cost = £2950
Deposit = £200

£200.00
Out of stock
Cost = £2950
Deposit = £200
Out of stock

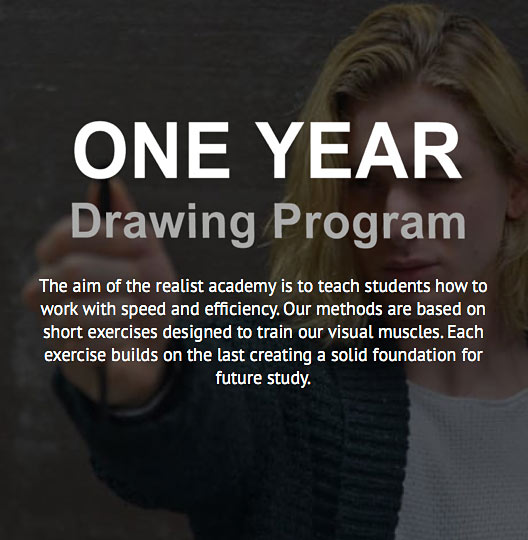
This is a part time course designed to fit around peoples commitments, allowing students to work on assignments in their own time. We will help you to develop some new healthy working habits that will keep you heading in the right direction towards your artistic goals.
The aim of this course is to cultivate a confident approach backed up by proven academic methods. Learning the right habits are key to developing a solid working practice which could improve your skills well beyond your current ability.
This is a part time study program, we encourage self reliance because at some point you will have to face the challenge of working in your own time.
Cost
£2950
Deposit
£200 and the remaining balance of £2750 is to be paid 3 weeks before the start of the Academic Year. Details will be sent in the confirmation email.
Timetable
36 Weeks
Thursdays 9.30-4.30
Terms
1st Term = 26th Sep – 31st Oct | Half Term 7th Nov | 14th Nov – 19th Dec 2020
Christmas = 26th Dec – 2nd Jan 2021
2nd Term = 9th Jan – 13th Feb | Half Term 20th Feb | 27th Feb – 3rd April 2021
Easter = 10th – 17th April
3rd Term = 24th April – 29th May | Half Term 5th June | 12th June – 17th July 2021
Term 1 Principles of Drawing
The principles taught in the first term are the foundation of traditional art techniques.
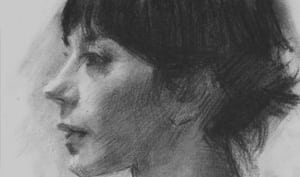
First we need to learn how to observe and describe what we see. The exercises in each lesson are specifically designed to improve your observational skills. At the end of the term we will be putting all the steps together producing a fully rendered portrait.
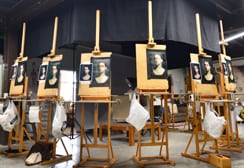
The exercises below have been developed to train your visual muscles. Each exercise builds on the last creating a solid foundation for future study.
Daily Schedule
Lesson
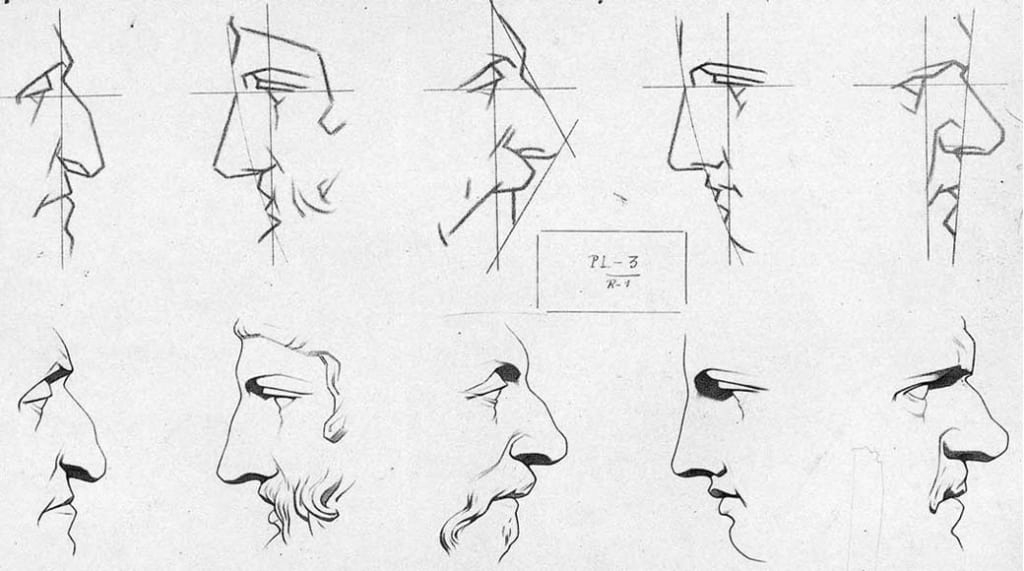
Lesson = The aim of the lesson is to Imagine the face as a landscape and learn how to plot the features that create it.
Exercise = Plotting the features. Think of it as a dot to dot drawing. Plotting the points and then connecting them with a straight line. Straight lines give architectural strength and eradicate unnecessary details.
Model = Charles BargueMaster Drawings.
Outcome
Students will learn to:
Lesson
Lesson = The aim is to place equal importance on Positive and Negative shapes. Positive and negative shapes are interdependent like the pieces of a jigsaw puzzle. For example when drawing the eye it’s tempting to just look at the eye itself without concidering the space around it.
Exercise = Group of exersizes loosening the perception of positive and negative space, seeing it as a whole.
Model = Arranging groups of objects and drawing only the negative space.
Homework = Draw the negative space between the leaves of the plant.
Outcome
Students will learn, the interdependence of negative and positive space.

Lesson
Lesson = There are no outlines in nature, what defines a shape is the contrast between one tone or colour against another.
Exercise = Draw a group of geometric objects without using the tonal differences to define their shape.
Model = Use a group of simple geometric objects to work from.
Homework = Choose a composition in your home and repeat the exercise.
Outcome
Students will learn how to describe an object without using an outline.

Lesson
Lesson = Learning the principles of perspective and how it relates to the head in space.
Exercises = Draw imaginary boxes in 1,2 and 3 point perspective. Using a photo reference exaggerate the perspective of a persons face.Model = Arrangement of boxes to be drawn applying the knowledge from previous exercises.
Homework = Repeat the exercise using a photo reference
Outcome
Students will learn,

Lesson
Lesson = The theory of atmospherical perspective and how it can be applied to portraiture.
Exercises = Shading exercise observing the atmospherical effects of nature. Line weight exercises using strong sharp lines around the focal point of the eye gradually becoming softer as they radiate out towards the outline of the head.
Model = Using line weight to articulate a line drawing of the head.
Homework = Using a photo reference, repeat the exercise.
Outcome
Students will learn:
Lesson
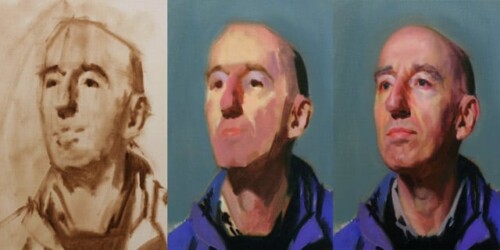
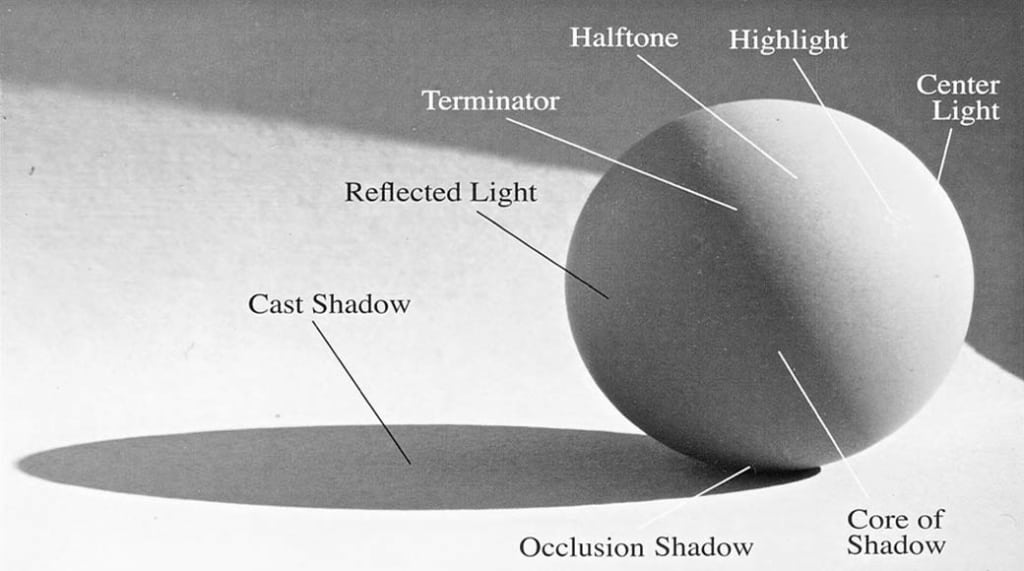
Lesson = Once we have learned how to draw a believable looking head then its time to start rendering. Understanding the principles of light and shade are key to a well rendered portrait.
Exercises = Copy and label anatomy of light diagram.
Model = Render a sphere observing the principles taught in the lesson.
Homework = Draw an egg and label the anatomy of light and shade.
Outcome
Students will learn:

Lesson
Lesson = The use of edges to describe the volume of forms. How to observe the speed and variety of edges around the face.
Exercise = Line weight mapping exercise using soft and sharp lines to describe variation edges around the face.
Model = Apply what we have learned with a strongly lit model.
Homework = Repeat the rendering steps using a master drawing.
Outcome
Students will learn
The difference between soft and sharp edges, speed of an edge fast and slow.
How to compare edges.

Lesson
Lesson = Learn the steps of rendering. We begin studying master drawings before tackling the live model. The Master drawings are simplified drawings of plaster casts taken from classical sculptures which help the student understand the basics of describing light and shade as it wraps around the features.
Exercise = Run through the steps of rendering a portrait using a master drawing.
Model = Repeat the exercise.
Homework = Either finish or repeat the exercise.
Outcome
Students will learn the basic steps of rendering. This process needs to be repeated until they become second nature.

Lesson
Lesson = Now it’s time to put it all together and begin honing our skills for the remainder of the term.
Exercise = Practice all the steps we have used so far working from life for the remainder of the term.
Model = Students work from a portrait model.
Homework = Practice rendering steps with a sitter, photo or self portrait.
Outcome
Students will learn:

Timetable
2nd Term = 7th Jan – 11th Feb | Half Term 18th Feb | 25th Feb – 1st April 2021
Easter = 8th – 15th April
Term 2 Rendering
In the second term we will be focusing on the structure of the head. We need to create a basic structure before adding the features. Think of the skull itself as the structure and the rest as merely trimmings.
The exercises below are designed to improve your observation skills and decision making process when tackling a portrait.
Daily Schedule
Lesson
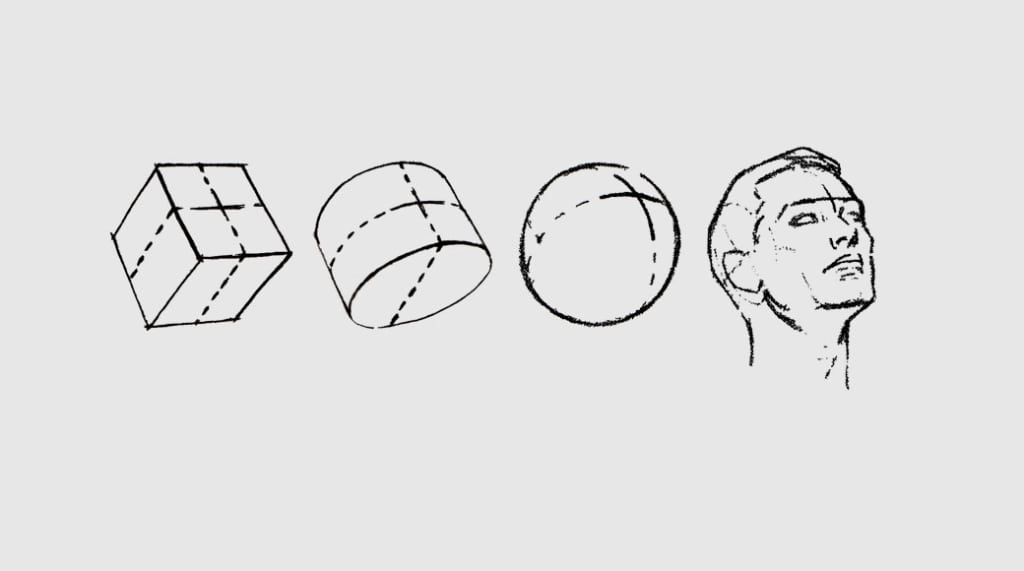
Lesson = The aim of this lesson is to memorise the Proportions and geometry of the head. Learning foreshortening, perspective and how to draw the head from any elevation.
Exercise = We will be creating a simplified 3D model to understand the proportions and geometry of the head. how to draw the structure from any angle.Using a square, cylinder and sphere as a 3 dimensional model.
Model = 3D Model.
Homework = practice drawing the basic structure of the head from multiple angles.
Outcome
Students will learn,
Lesson
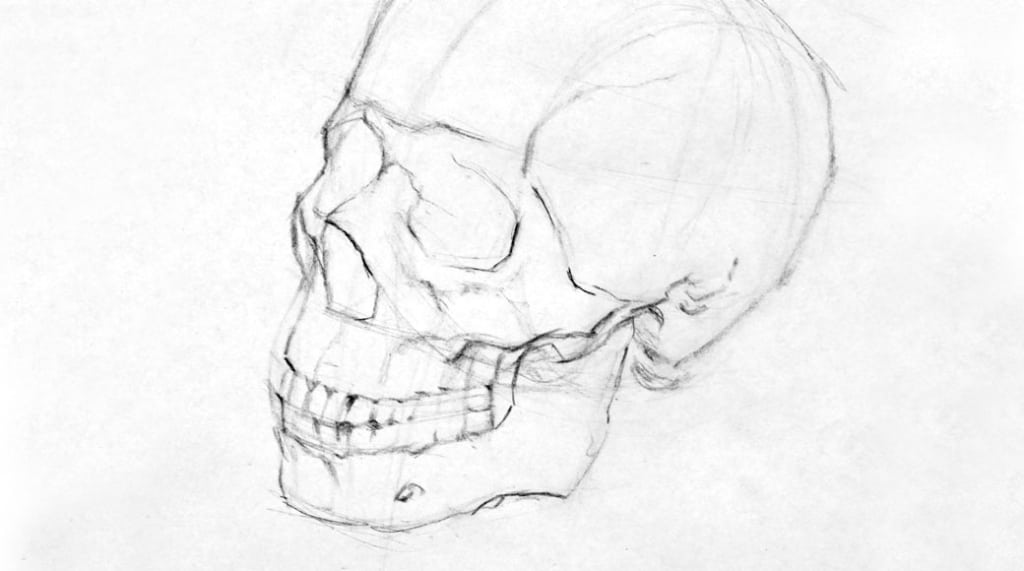
Lesson = Learn the anatomy of the skull and how the bony protrusions affect the features of the face.
Exercise = Draw the skull from a front, side and three quarter view. Using a photo reference of a model trace the outline of the skull observing the skulls protrusions.
Model = Repeat the exercise with a portrait model.
Homework = Draw Skull thumbnails from a variety of elevations.
Outcome
Students will learn:
Lesson
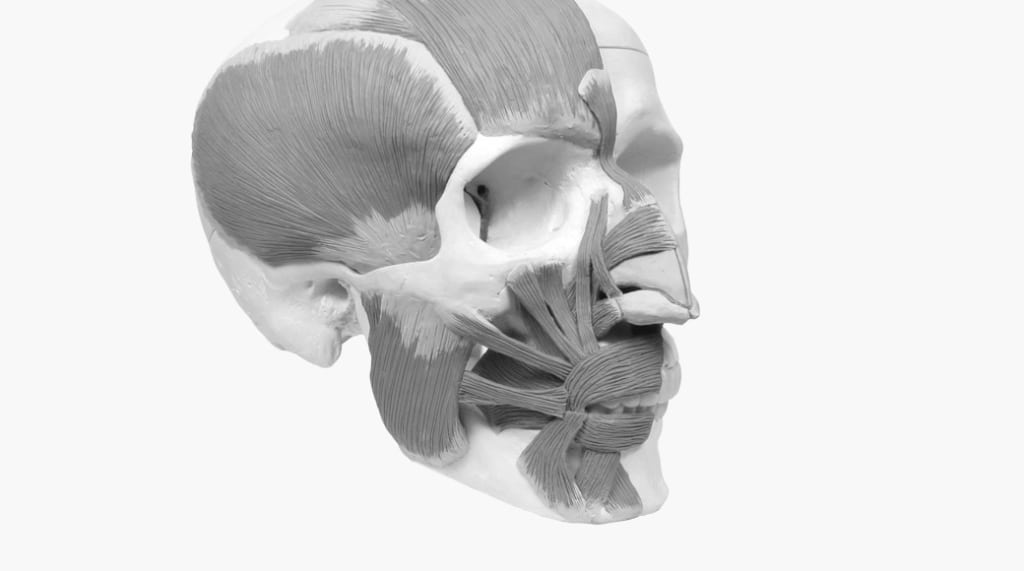
Lesson = We will be learning about muscle anatomy and how it affects the surface of the face.
Exercise = Based on the “Ecorche” method meaning flayed figure. We will be using the skull as a base to sculpt the muscles of the face using plasticine.
Model = Repeat the exercise using a live model.
Homework = repeat this exercise using a photo from different elevations.
Outcome
Students will learn how, the anatomy of the muscles affects the surface of the face.
Lesson
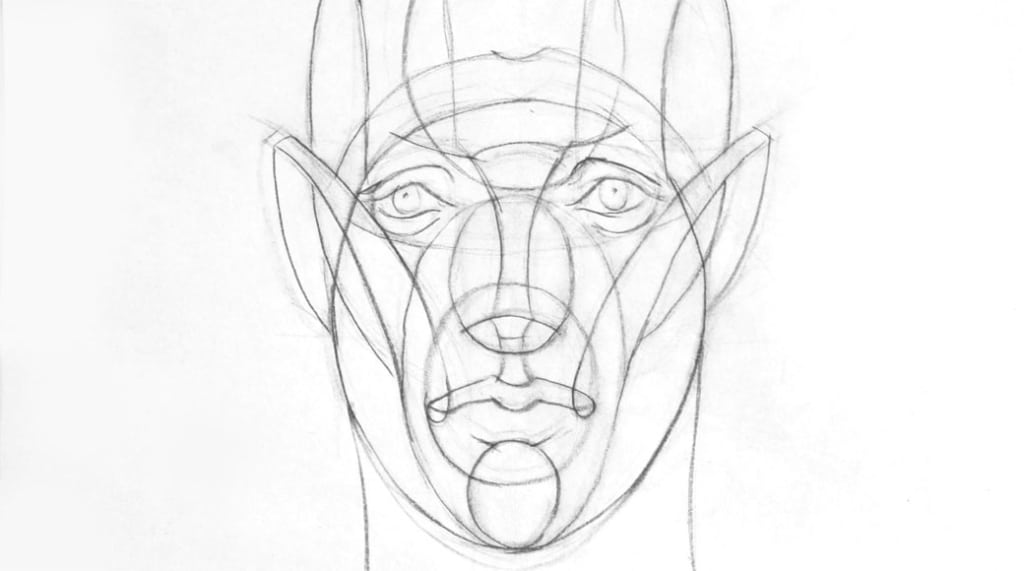
Lesson = Observe the rhythmic lines of the face. This is probably one of the most beneficial things taught on this program. It’s a useful tool for locating the major and minor landmarks of the face.
Exercises= Copy rhythm diagram, front, side and three-quarter view. Trace the diagram over a photographic references of the model.
Model = Apply what we have learned to the model using the Rhythm lines as a basic structure for the face.
Homework = Practice using the construct with a sitter or photo reference.
Students will learn, simplification, idealisation, hand dexterity.

Lesson
Lesson = Observe the rhythmic lines of the face. This is probably one of the most beneficial things taught on this program. It’s a useful tool for locating the major and minor landmarks of the face.
Exercises= Copy rhythm diagram, front, side and three-quarter view. Trace the diagram over a photographic references of the model.
Model = Apply what we have learned to the model using the Rhythm lines as a basic structure for the face.
Homework = Practice using the construct with a sitter or photo reference.
Students will learn, simplification, idealisation, hand dexterity.
Lesson
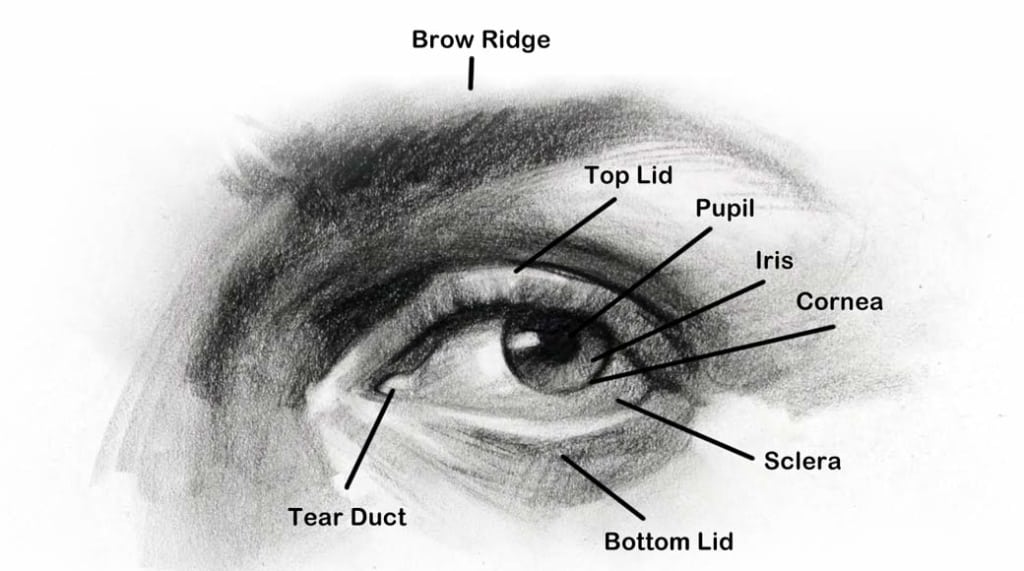
Lesson = In the first term we looked at the overall structure. Now its time to investigate the smaller features, looking at the eyes, nose, mouth and ears.
Exercises = We will be using a variety of different resources such as Loomis, Bargue and Bridgemann to explore the characteristics of the face.
Model = Apply what we have learned to the model with individual studies.
Homework = Practice using a mirror to investigate the features of your face.
Outcome
Students will learn:

Timetable
3rd Term = 22nd April – 27th May | Half Term 3rd June | 9th June – 15th July 2021
Term 3 Interpretation
In this term we will be focusing on style. Looking towards some of the masters for inspiration. By imitating artists such as Sergeant we can learn the poetical language used to describe the visual world which will help to enrich your own individual expression.
Speed and efficiency
The exercises below have been created to develop your interpretation and style. We will also be working on improving speed, efficiency and bravado.
Daily Schedule

Lesson
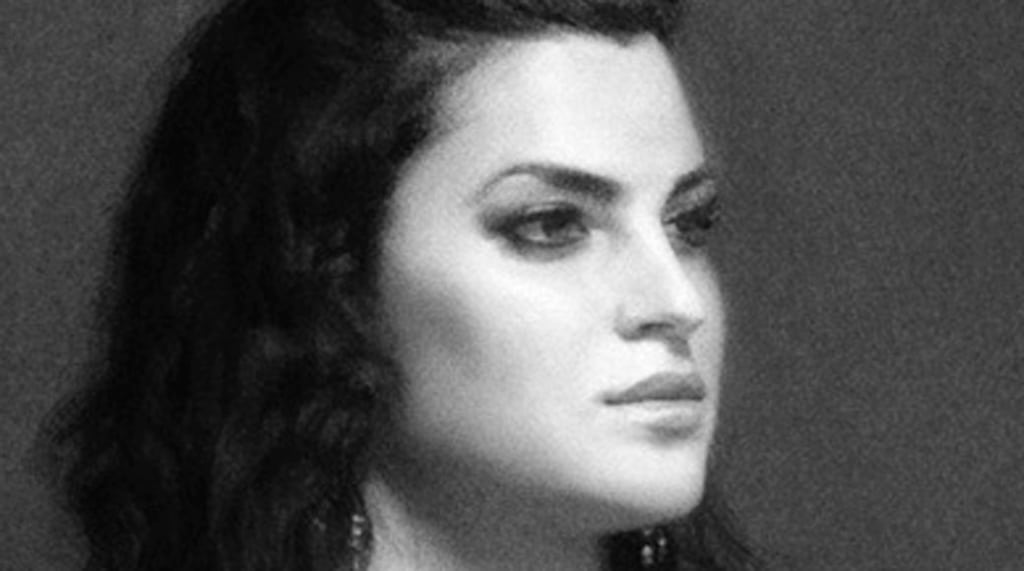
Lesson = Learning how Sargent used strong lighting effects to illuminate the subject and the bold loose marks he used to describe the character of the person.
Exercise = Study a Sargent charcoal drawing.
Model = Set up a model with strong lighting effect and draw the portrait in a similar style.
Homework = Study John Singer Sargent Charcoal. Draw a portrait in similar style either sitter or photo reference.
Outcome
Students will learn to draw with a lose bold style.
Lesson
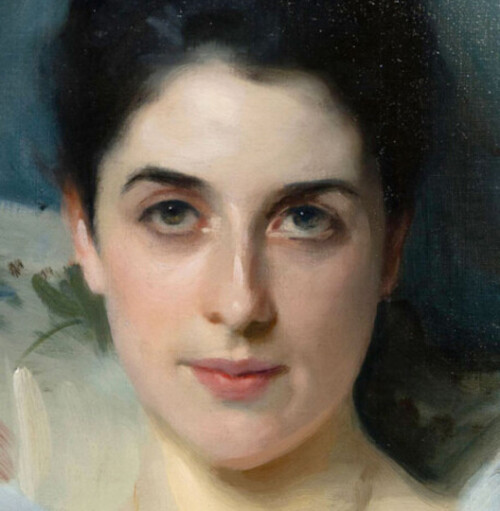
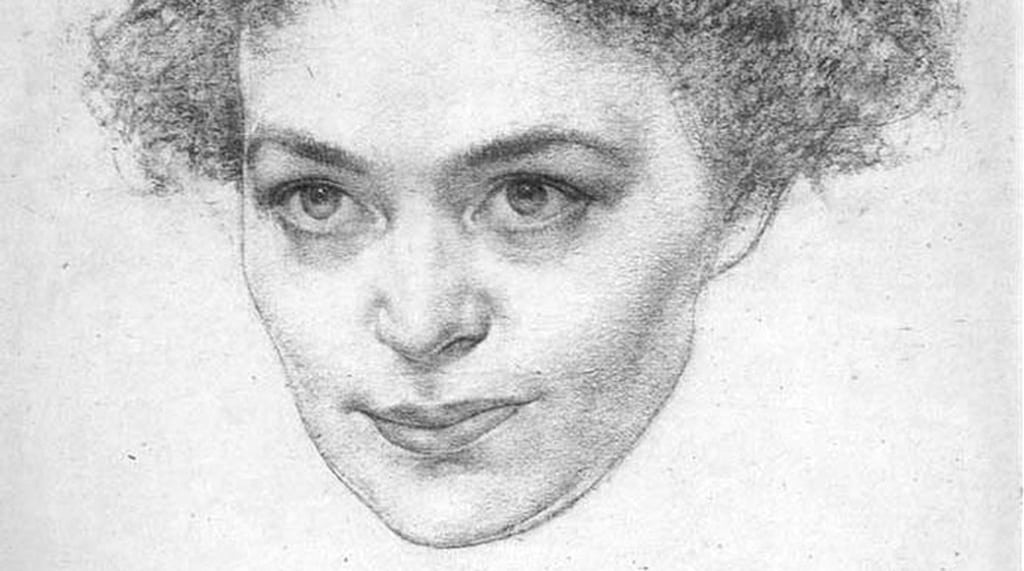
Lesson = Nicholia Fechin uses a soft lit model to create a subtle look.This effect works well with women emphasising the smooth rounded surface.
Exercise = Study a portrait drawing by Nicholia Fechin.
Model = Using soft lighting, practice the technique on the model.
Homework =Study Nicholia Fechin charcoal. Draw a portrait in similar style either sitter or photo reference.
Outcome
Students will learn how to, describe soft subtle forms. A useful technique when dealing somebody young and the female form.
Lesson
Lesson = Students will have extra time to work on a piece for the end of the year exhibition. They will also be able to show some of their best work throughout the year. Friends and family are welcome to see how far the students have advanced from the start of the program.
Exercise = Prolonged study, bringing all the elements together taught over the year.
Model= Portrait Model.
Practice = Repeat the process in own time.
Outcome
Students will learn how to deal with pressure and how it can effect your flow.
Walton Hall and Gardens is a country house in Walton just outside of Warrington. The venue was chosen for its beautiful setting and central location. It’s only 30-45 mins from Manchester, Liverpool, Chester and Wilmslow. There are a number of attractions in the park, it has a Petting Zoo, Miniature Golf, Bowling Greens, Conservatory and Cafe for the students to explore during their lunch brake.

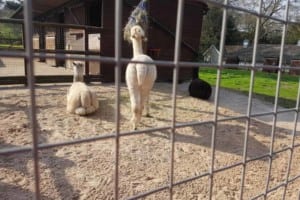

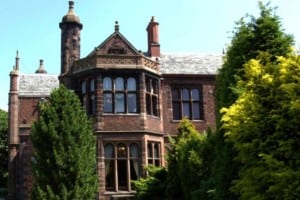
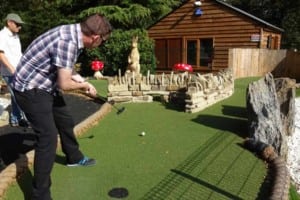
Walton Hall and Gardens is a country house in Walton just outside of Warrington. The venue was chosen for its beautiful setting and central location. It’s only 30-45 mins from Manchester, Liverpool, Chester and Wilmslow. There are a number of attractions in the park, it has a Petting Zoo, Miniature Golf, Bowling Greens, Conservatory and Cafe for the students to explore during their lunch break.
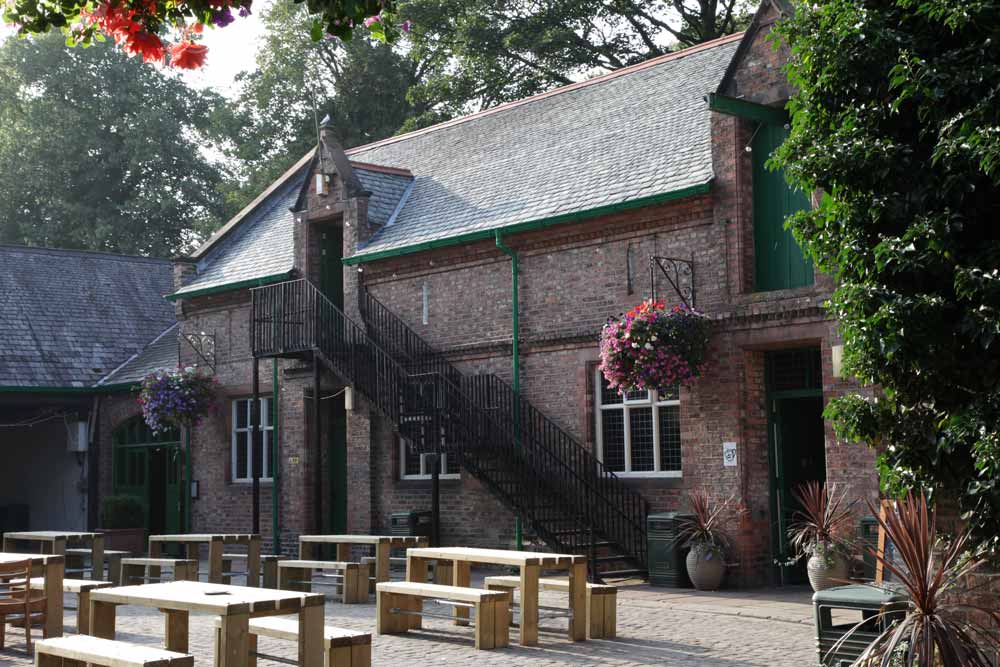
Realist Academy located in the Stable Yard at Walton Hall