Features
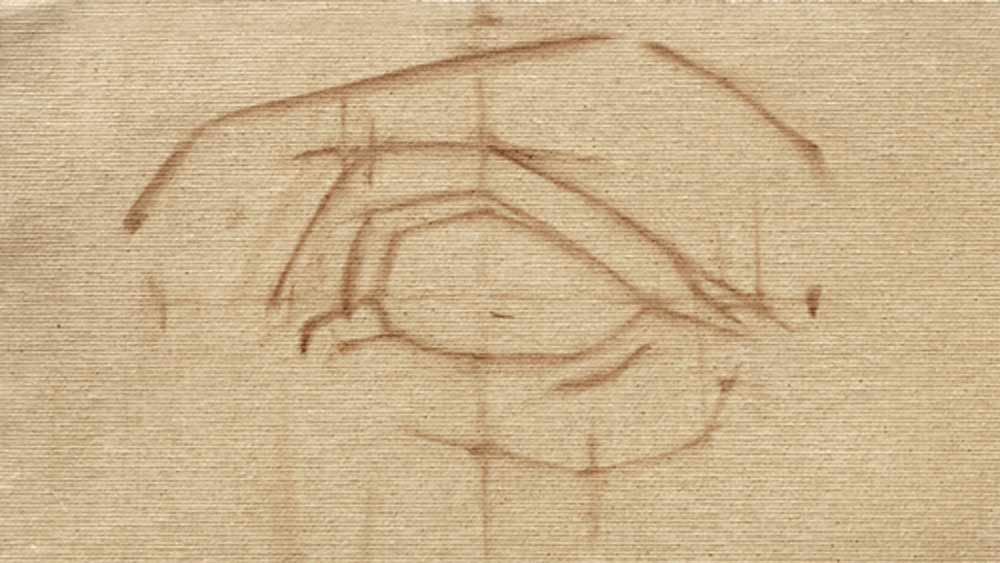
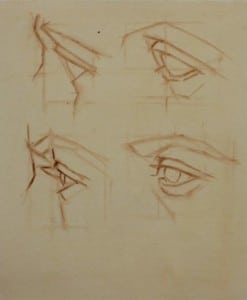
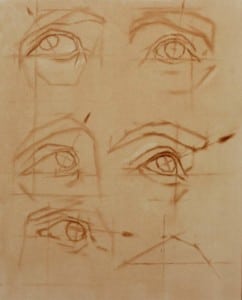
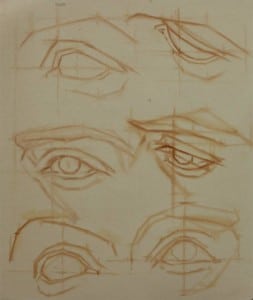
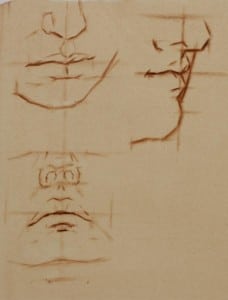
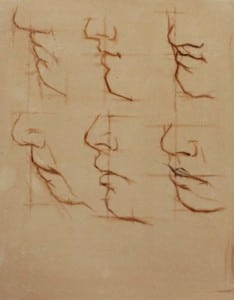
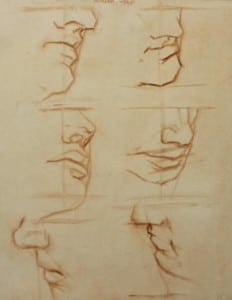
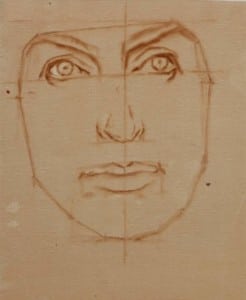
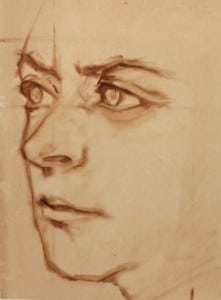
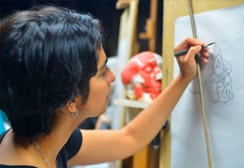
The first part of the Study Program is dedicated to drawing using the brush. Students learn how to measure using the Site Size method, learning how to map the features of the face. First they are given master copies to work from and then they are required to apply these techniques for themselves.
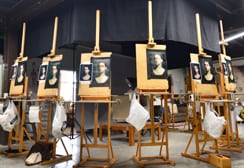
Below are some examples of Charan Singh’s efforts. Along the top of each canvas you can see his copy from the “Charles Bargue Drawing Course” then below his attempt to apply what he has learned using a photo reference from a similar angle .
- Peter Lynn
- Peter Lynn
- Peter Lynn
- Peter Lynn
- Peter Lynn
- Charan Singh
Triangle of the face
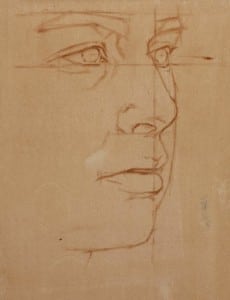
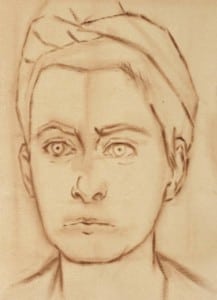
Once the students feel comfortable drawing the individual features then its time to start putting things together. The triangle of the face is the most important part of the portrait. If this can be drawn successfully then any discrepancies with the rest of the head are forgivable to the eye.
Below is an example of Broady Blackwell’s efforts, in the first attempt he has fallen to the temptation of fill in the shadows around the eyes and in the second he has relied on line weight.
- Broady Blackwell
Part 3 The whole head
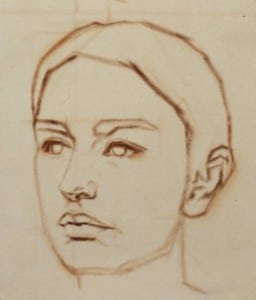
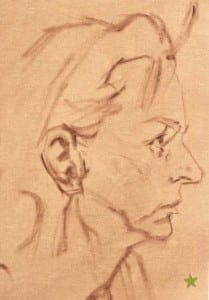
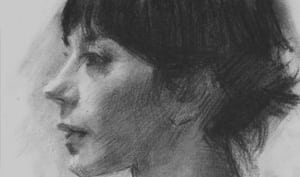
Students conclude the drawing phase of the program by drawing the whole of the head from various angles. By this stage students are encouraged to use line weight to describe the forms of the head.
Below you can see an example of Broadys use of contrasting lines, soft vs sharp and heavy vs light to describe the features. Note the difference in line weight between the eye and jaw line.
- Charan Singh
- Mark Penman
- Broady Blackwell


